Kapa Boards
Features of Kapa plates
Besides its having an unusually wide product range, it was above all two other important factors that convinced us to exclusively carry the Kapa product line in our range of goods:
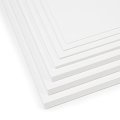
Most producers use polystyrene foam for the foam core of their laminated sandwich panels. Because this inexpensive plastic foam has the disadvantage that when it comes into contact with adhesives or paints that contain solvents it tends to dissolve, Kapa produces its core using only the solvent-resistant polyurethane foam.
The manufacturing process itself also differentiates the Kapa line from conventional sandwich panels: the Kapa boards are manufactured in a continuous "in line" process, which means that the foam is not cut from a block and then covered (lined) but instead the foaming process takes place between the covering layers. For this reason the Kapa materials have markedly better facing qualities (surface flatness) than the other competing products.
Types of Kapa plates
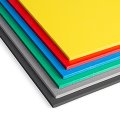
Kapa offers a variety of boards with special attributes for a wide range of uses. In addition to the Kapa line - the versatile universal product – there are also coloured panels for presentation purposes, water-repellent boards for short-term outdoor use or boards with increased flexural strength for large-scale programmed laminating work. For all Kapa boards on offer there are corresponding edge protectors, connecting profile strips as well as hangers available.
Applications
Kapa boards are best suited for backing photos, posters, outlines or pictures. Because they are the optimal backing material for creating presentation areas and surfaces, Kapa boards are used extensively in constructions for trade shows and exhibitions or in the making of signboards for advertising displays. They are, of course, also used at seminars and other comparable events. Considering their light weight the boards are incredibly stiff and both these factors make them easy to transport as well as to mount or affix. Because paper can be so easily attached to the board with tacks or pins, it can also be used as a nice plain pin board.
Because Kapa boards can be cut without the use of a machine they are a popular material for creating displays, three-dimensional decorations or simple backdrops and scenery. In architectural circles they are known as "Modelbaupappen" (modelling boards) as they are extremely suitable for use as light, stabile foundation boards as well as for the scaled representation of walls and ceilings (1:100; th=3.5 mm, 1:50; th=5-10 mm, 1:20; th=10-20 mm).
|
Strength of the Kapa plate |
Suitable for scale |
|
3 – 5 mm |
1:100 |
|
5 – 10 mm |
1:50 |
|
10 – 20 mm |
1:20 |
Processing of Kapa plates
Cutting
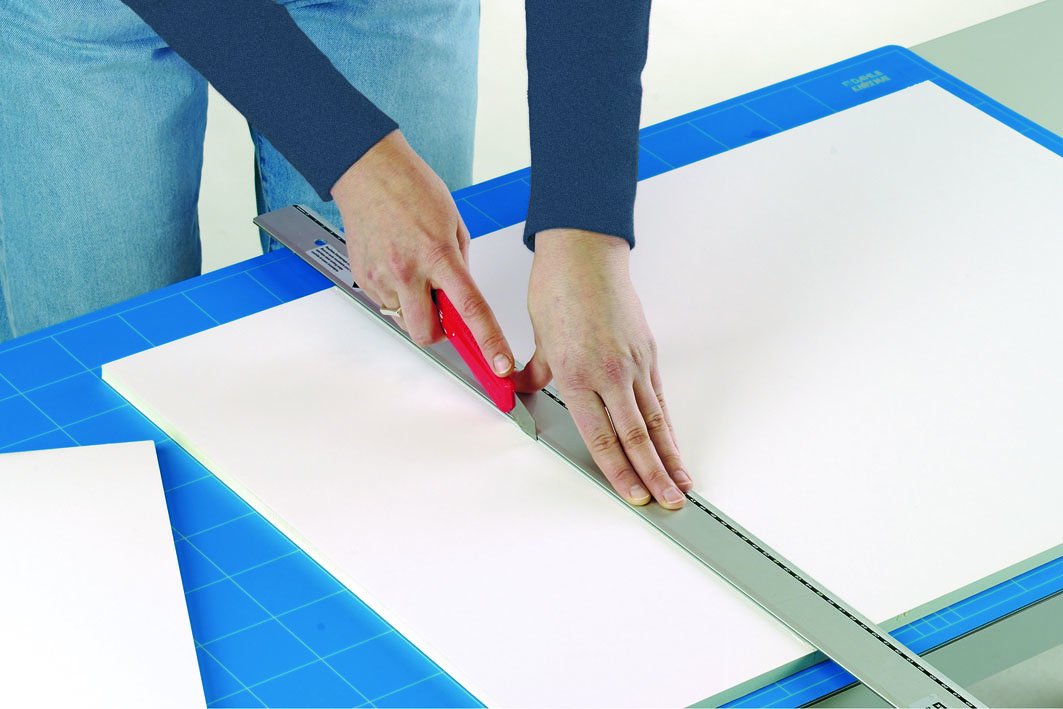
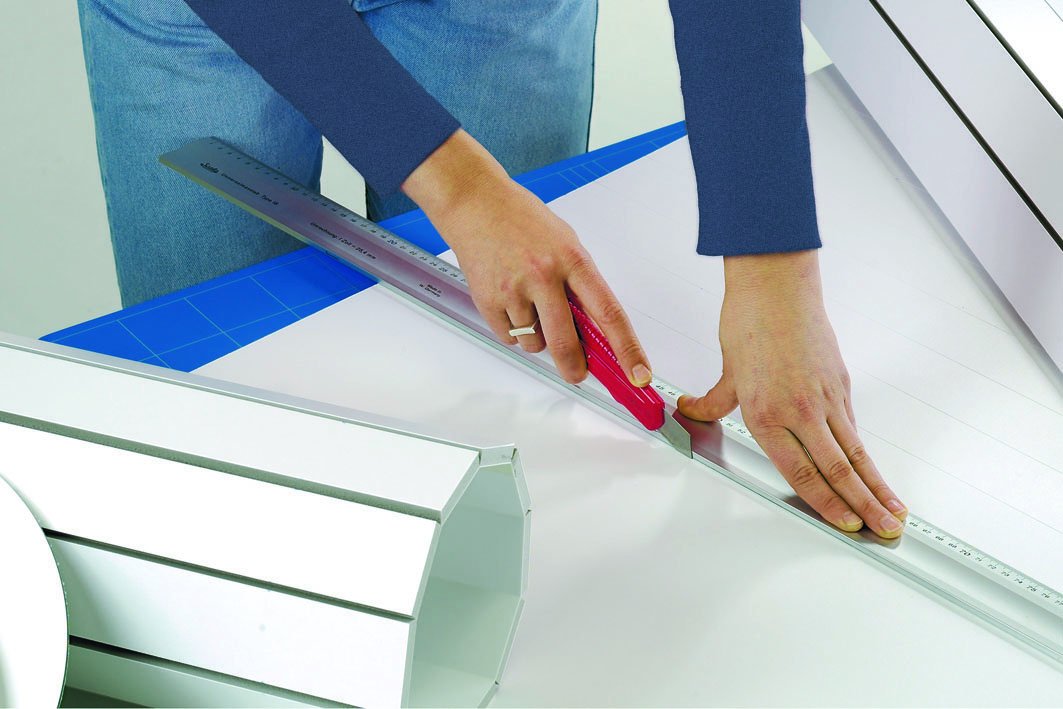
Kapa boards can be simply cut with a cutter held at a flat angle. Really angular cutting edges can be attained by using special knives like Foamwerks cutting tools in conjunction with a straightedge. With a little practice it is possible to achieve good results cutting the boards if you make sure that the blade you are using remains horizontal as you pull the knife through the material.
When being cut with a cutter or some other knife, the Kapa boards reveal another advantage they have over the customary sandwich panels: they do not crumble or fragment!
You can even get a clean cut when using a fine-toothed circular saw blade running at high-revs. Round shapes can be achieved by using a jigsaw or a scroll saw as well as a Foamwerks circle cutter or Foamwerks Hole Drill. Freestyle cuts can be made with the Foamwerks Freestyle Cutter.
Due to possible deformation of the material or the appearance of rough cutting edges, the use of guillotine shears or laser cutters is not advised. Thermic cutting is simply not possible.
Bending
Round-shaped pieces are made from Kapa boards in the following manner: cut a wedge into the reverse side of the board at the approximate point where the bend will be (this is best accomplished with a Foamwerks V-Groove Cutter). For this kind of work cardboard covered boards like Kapa line are the best. Before the actual bending, the board should be exposed to moist air in order to hinder any cracking or splitting of the face surface.
Gluing
Because the Kapa boards have a PUR rigid foam core they are largely resistant to solvents. For model making, TESA All-purpose glue or other solvent-containing adhesives should be used. Temporary joining should be done with tacks or pins
Conjoining
Corners can be easily connected without the use of a mitre square. For a butt joint with continuous abutting face, the first step requires using a cutter or an art knife to cut through the cardboard cover layer and the foam while leaving the bottom cover layer untouched. The second cut then serves to remove the foam layer thereby leaving an "L" shaped gap. Note: the Foamwerks rabbet cutter can do this process in one simple step! The second board, after cutting away a measured piece of its cover layer to allow the fit, is then glued into the resulting gap. Other open edges or joints are covered in model making by microstripes, Photo Mounting Board or adhesive tape. This type of seam covering is especially important if the model is to be out in the light for an extended period of time because the PUR foam edges tend to yellow after a few months.
Printing and Painting
Kapa boards can be printed on with great results using either silk-screening or digital printing techniques. Paints containing solvents can also be used because the Kapa board’s PUR rigid foam core is solvent resistant. The Kapa plast is especially good for use in digital plate printing because it is extremely dimensionally stable and printing work can be completed using 15% less ink than would be the case with Kapa line.
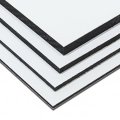
In cases where the boards are to be completely coated (painted or sprayed) or where dispersion paint is to be used on them, Kapa mount (with aluminium lamination) should be your choice or, alternatively, both sides of the board must be treated because otherwise warping will occur.
Pasting, Lining, Attaching, Covering, Affixing
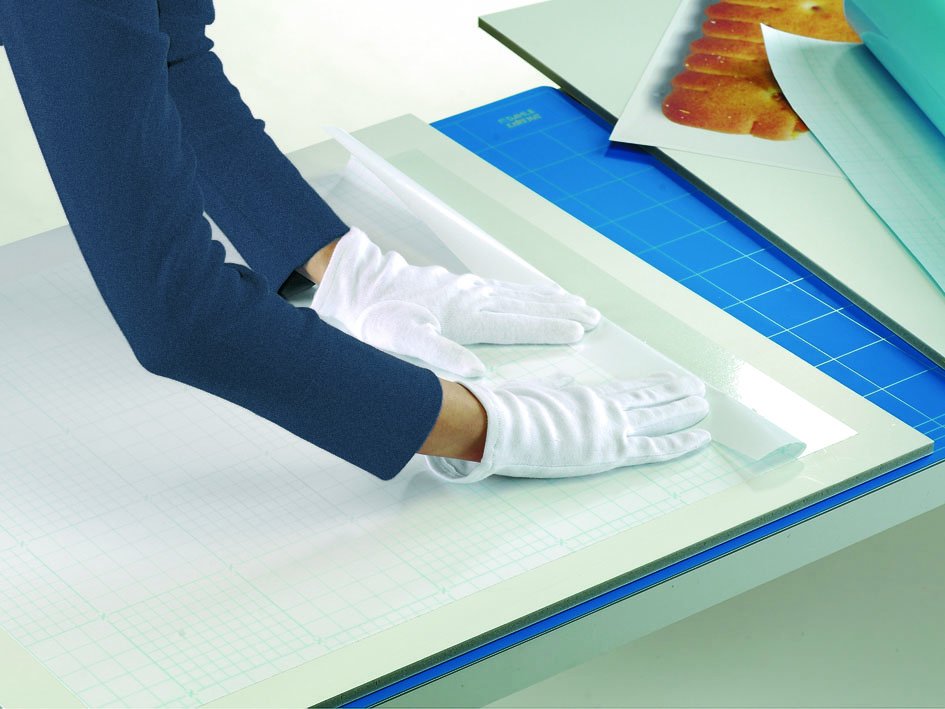
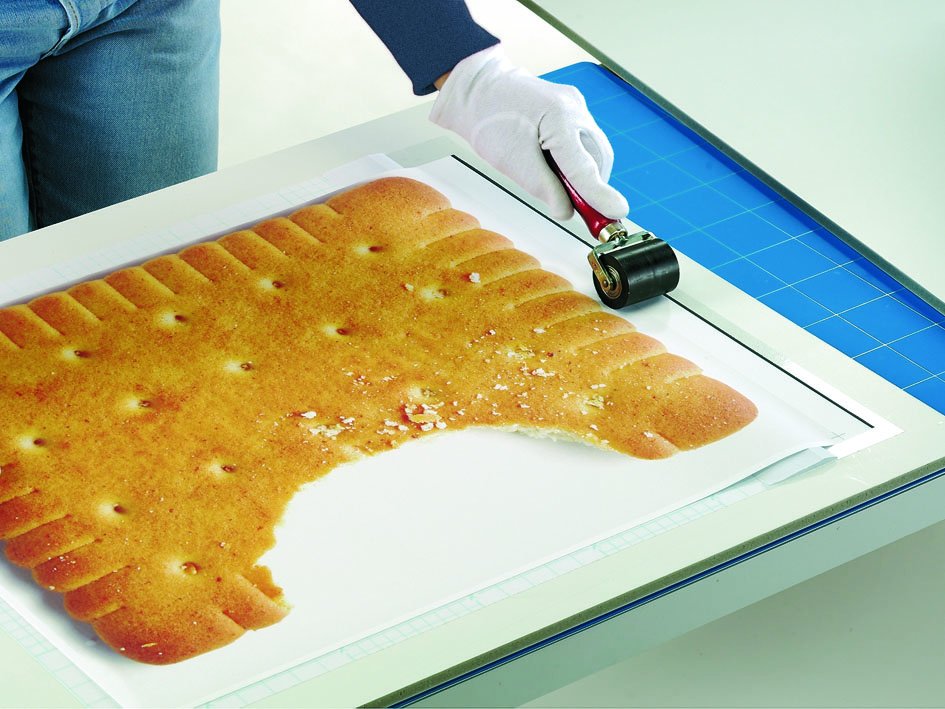
Photos, layouts, maps or pictures can be attached to Kapa board by hand without too much effort. In the process, a larger sized board should be chosen so that it can then be subsequently cut to the appropriate size. The self-adhesive Kapa fix is the best choice for such attachments. Alternatively, double-sided adhesive film can also be used - it does not contain any trace of solvent and is therefore not harmful to photo paper. Spray adhesives are a further possibility.
Making attachments to Kapa fix: first, remove all dust and lint from the object to be affixed. Then pull back a small piece of the adhesive cover sheet at one particular point. Then begin carefully attaching your object at that point. Continue removing the cover sheet little by little while continuing to attach the object to the newly exposed adhesive surface. Do not use a sharp-edged object to spread the picture material because that can cause damage to your object’s surface (use a Squeegee or a pressure roller). Applying the paper to the board takes a certain amount of touch because the adhesive film is very clingy: you really have only one try to place the paper correctly. Wrinkles of any real size cannot be smoothed over although small bubbles can be punctured with a pin and flattened. The use of double-sided adhesive film or spray glue for attachments involves a similar process.
Attachments of the type being described are subject to one basic problem: under the influence of moisture or temperature swings the picture material and the carrier material will react differently in terms of expansion and retraction. This can cause warping. In order to avoid this eventuality it is advisable when dealing with larger examples to cover the reverse side of the Kapa board with a material similar to that of the picture material or to only use those Kapa boards which have been given surfaces at the factory which will not by their nature warp. In practice this means all boards which have aluminium strengthened cover layers (KAPA MOUNT, -FIX, -BOND). When single side attachments consisting of moisture impermeable material are made to other boards – or the boards themselves are plastic covered – only water-free adhesives should be used. In every case, the carrier material and the attachment material should be allowed to remain in the same room conditions for at least half an hour before any work is begun. If a transparent protective film is planned for the attachment material it is imperative that this should be affixed before attempting the attachment to the board. When using a machine for attachments (e.g. a laminating machine with rollers) the pressure of the roller should not be set too high because this can cause damage to the Kapa board foam core. The aluminium strengthened boards, on the other hand, do allow for a relatively high amount of pressure. If hot-melt film with a mounting press is the attachment method being used, a temperature of 80 °C should not be exceeded.
Tips for Displays
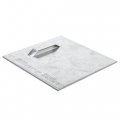
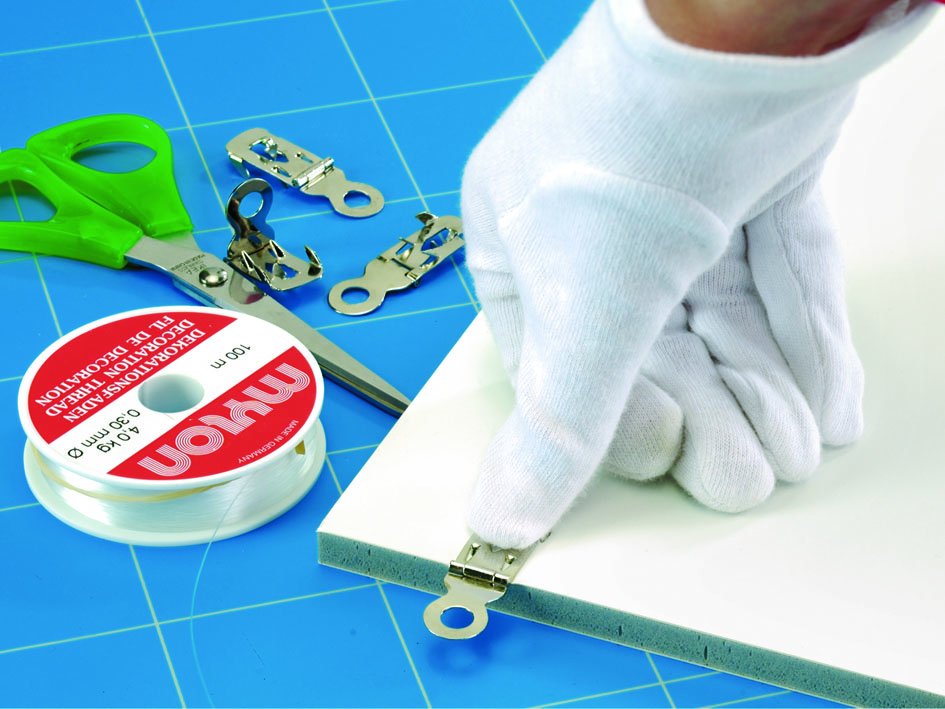
To hang a Kapa board, metal hangers can be used. Simply position the hanger and push the hooks through the cover layer into the foam core – taking care in the case of 3 and 5 mm boards not to push the hooks through the foam core and into the bottom layer cover. Before throwing a board away the hangers can be removed and reused.
If the boards need to be protected from being banged into or if they are to be hung like a picture then we advise framing them. Framing can be done with frame-profile strips made from rigid PVC or aluminium.
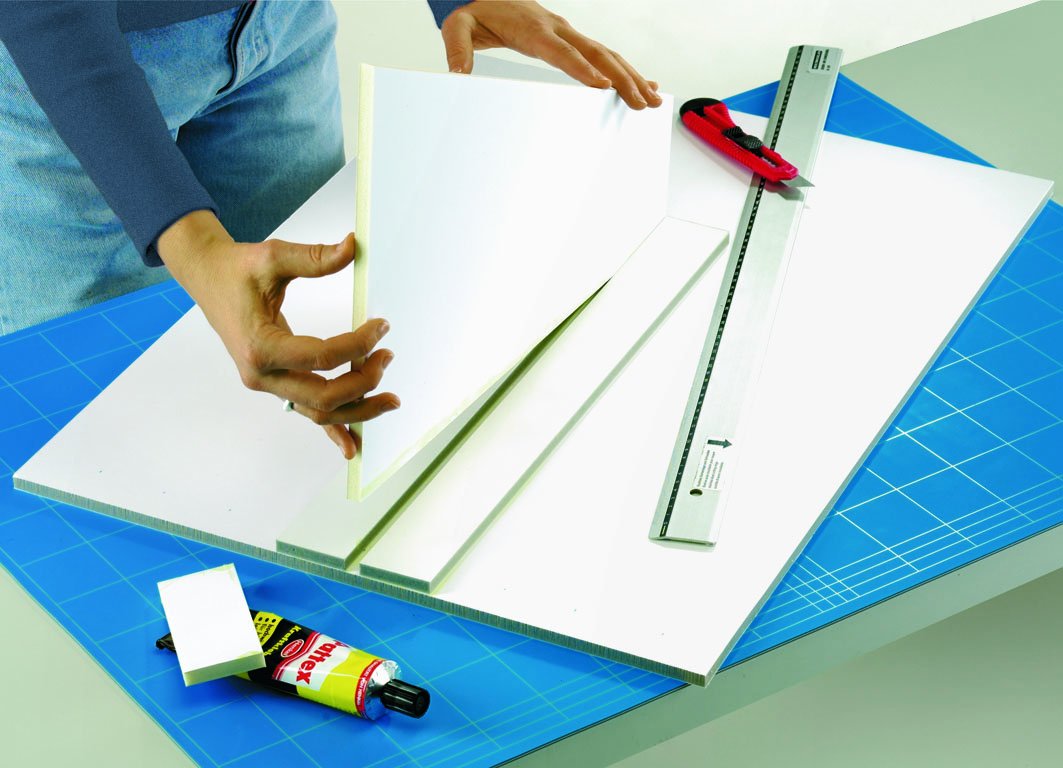
To create a free standing Kapa board, simply cut out a triangular support and two narrow stabilizing strips, glue the strips on the reverse side of the board leaving a gap slightly smaller than the support thickness, slide the support between the strips and glue it into place.
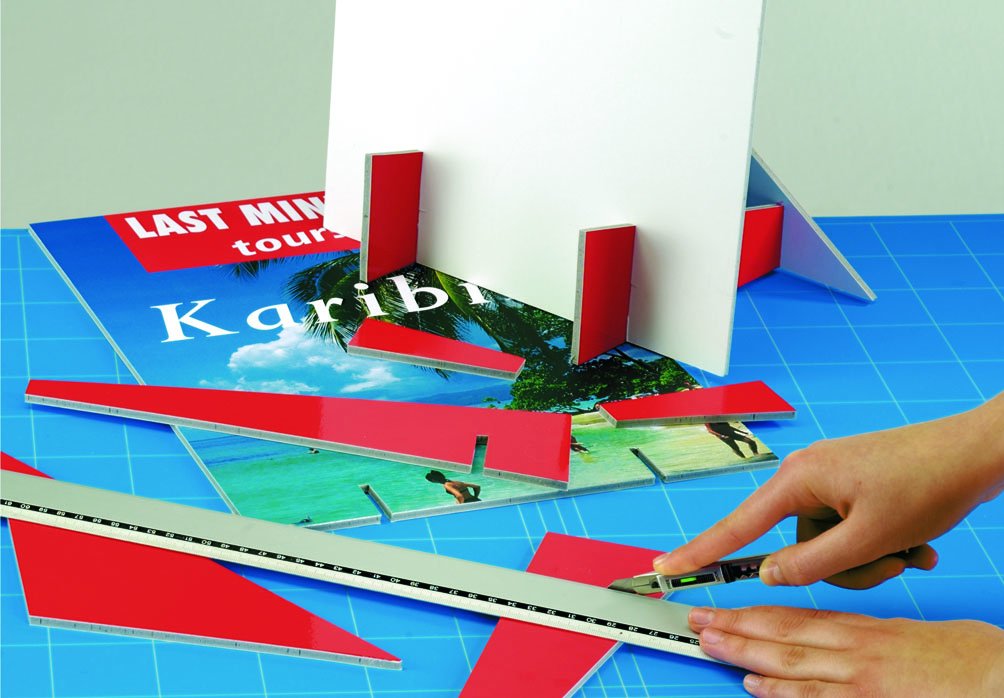
A further possibility for creating freestanding displays of Kapa boards is slot connections. With these there is even no need for adhesives if the workmanship is both clean and precise: the bottom edge of the display backing board should have two slots cut into it while the two feet (supports cut into any desired form)) should have the slots cut into the upper edge so that the two members can be slotted together. The width of the slots depends on the thickness of the board being used – the slots should be slightly smaller. This display method also works extremely well in the creation of larger three-dimensional decorations.
Basis weight for Kapa Boards (approximate):
|
Board type/thickness |
3 mm |
5 mm |
10 mm |
15 mm |
20 mm |
|
Kapa line |
570 g/m² |
635 g/m² |
850 g/m² |
1090 g/m² |
1260 g/m² |
|
Kapa mount |
800 g/m² |
870 g/m² |
1070 g/m² |
n. l. |
n. l. |
|
Kapa fix |
975 g/m² |
1050 g/m² |
1260 g/m² |
n. l. |
n. l. |
|
Kapa color |
775 g/m² |
870 g/m² |
n. l. |
n. l. |
n. l. |
|
Kapa plast |
720 g/m² |
810 g/m² |
1040 g/m² |
1230 g/m² |
n. l. |
|
Kapa graph white |
580 g/m² |
670 g/m² |
n. l. |
n. l. |
n. l. |
|
Kapa graph black |
n. l. |
690 g/m² |
n. l. |
n. l. |
n. l. |
Alternatives to Kapa plates
Cardboard honeycomb panels are an interesting alternative to Kapa panels from an environmental and aesthetic point of view. Depending on the application, thick solid or corrugated board, Forex or Dibond, plastic panels (e.g. polystyrene) or other sandwich panels can also be used.
